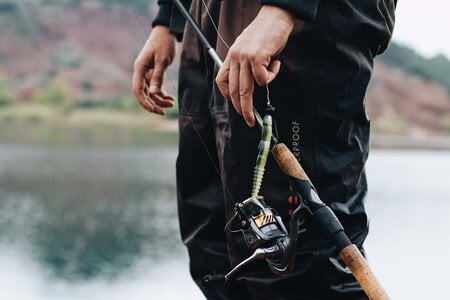
Fly Rod Setup: How to Rig Your Rod, Reel, and Line
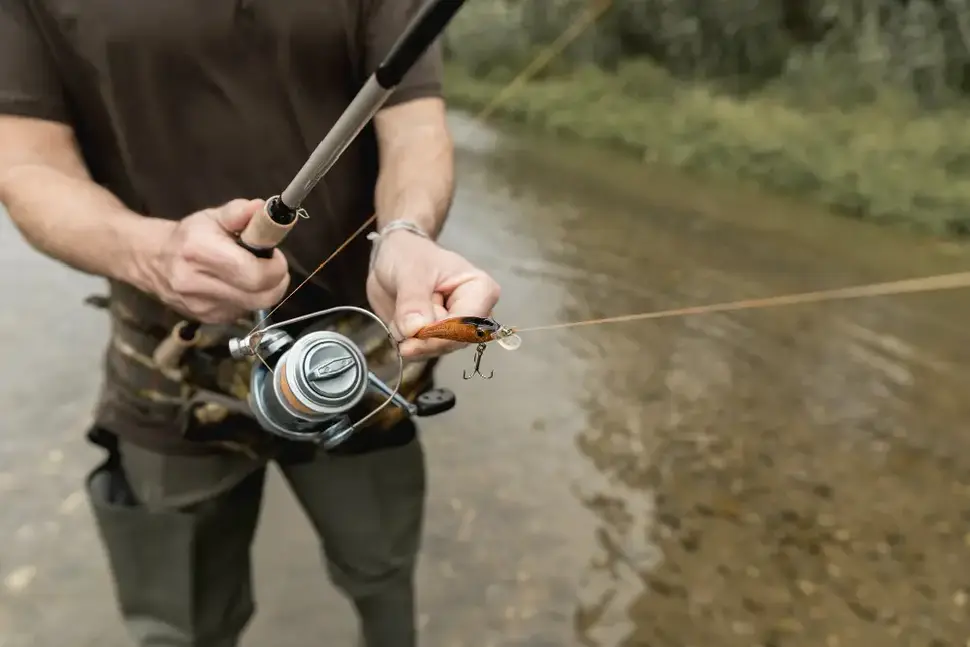
Key takeaways
- Rig in order: backing to the reel first, then fly line to the backing, then leader to the fly line, then tippet to the leader.
- Fly line connects to backing and to leader with a nail knot, needle knot, or loop-to-loop connection, depending on the line's factory end.
- Most trout reels hold 50 to 150 yards of backing; saltwater reels for bigger, harder-running fish hold 200 yards or more.
- A rod's reel seat, line weight, and reel size should all match; mismatched gear is the top reason a new setup feels clunky to cast.
- Rigging a rod for the first time takes about 20 to 30 minutes once the backing and line are already on the reel.
A new rod and reel in the box do not fish themselves.
Before your first cast, you need to spool backing, attach fly line, and tie on a leader. This guide covers how to set up a fly rod step by step, from empty reel to ready to cast.
What order do you rig a fly rod in?
Rig in this order: attach backing to the reel, connect fly line to the backing, attach the leader to the fly line, then tie tippet to the leader. Each connection uses a different knot, and working in order keeps the line from twisting or tangling once it is all on the reel.
- Spool backing onto the reel arbor, winding under light tension so it packs evenly.
- Attach the fly line to the backing with a needle knot or a strong connecting knot.
- Attach the leader to the front of the fly line, usually with a loop-to-loop connection or a nail knot.
- Tie tippet to the end of the leader with a blood knot or a surgeon's knot, then tie on your fly.
How much backing does your reel need?
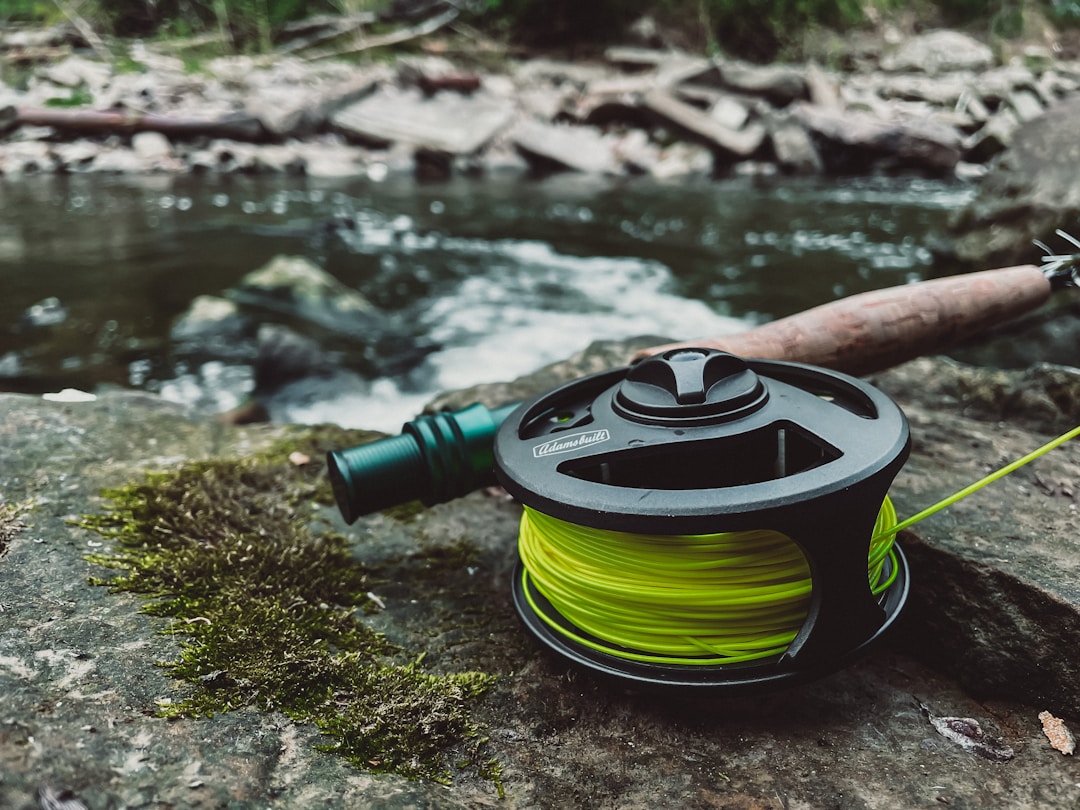
Most trout reels hold somewhere between 50 and 150 yards of backing, which is plenty for fish that rarely swim far. Saltwater reels built for bonefish, redfish, or tarpon typically hold 200 yards or more, since those fish make longer, faster runs. Check your specific fly reel's printed capacity rather than guessing, since arbor size varies a lot between models.
Fill the spool with backing first, then add your fly line on top. If you run out of spool space before the fly line is fully on, you added too much backing; if there is a lot of extra room, you can add more.
How do you attach fly line to backing and leader?
Three connections do most of the work in a full rig.
- Needle knot: threads backing or leader material through the core of the fly line for a smooth, snag-free connection.
- Nail knot: wraps line around the fly line without threading through it, a solid option if you do not have a needle.
- Loop-to-loop: connects a factory loop on the fly line to a matching loop on a leader, the fastest connection to swap leaders in the field.
Many modern fly lines and leaders come with a factory loop already tied in, which makes loop-to-loop the easiest connection for a first-time setup.

Do you need a leader wheel or tippet spool?
Not to get started, but both make life easier once you are fishing regularly. A tippet spool holder keeps your material organized and easy to reach, and a leader wheel keeps spare leaders from tangling in a pack or box. Neither is required for your first day on the water.
Common rigging mistakes
A few mistakes trip up almost every new angler at least once.
- Winding backing on too loosely, which lets it shift and jam on the spool.
- Attaching the leader backward, with the thick end toward the fly instead of the fly line.
- Skipping a strength check on new knots before the first cast.
- Mixing a line weight that does not match the rod, which throws off casting feel entirely.
Check your knots by pulling firmly before you fish. A knot that slips in your hands will slip on a fish.
What knot should beginners start with?
If you only learn one knot to connect tippet to leader, make it the surgeon's knot. It is easy to tie correctly under pressure, even with cold or wet hands, and it holds well for most trout and bass fishing. The blood knot is stronger and neater but takes more practice to tie reliably.
Learn one knot well before adding a second. A simple knot tied correctly beats a fancy knot tied wrong every time it matters.
Should you use line dressing when you rig?
Some anglers add fly line dressing when they first rig a new line, since it can help a floating line sit a bit higher and glide more smoothly through the guides. It is optional, not required, and many anglers never bother with it on a new line.
If you do use dressing, apply a small amount and wipe off the excess. A thin, even coat works better than a heavy one.
How do you know your rig is ready to fish?
Before your first cast, run through a quick check. Pull on each knot firmly to confirm it holds. Reel the line in and out once to make sure it runs smoothly through the guides without catching. Check that your leader and tippet are free of tangles.
- Tug each knot hard enough to feel confident it will hold under a fish's pull.
- Strip line out and reel it back in once to check for smooth movement through the guides.
- Look over the leader and tippet for wind knots or tangles picked up while rigging.
This check takes under a minute and catches most rigging mistakes before they cost you a fish.
How often should you re-rig?
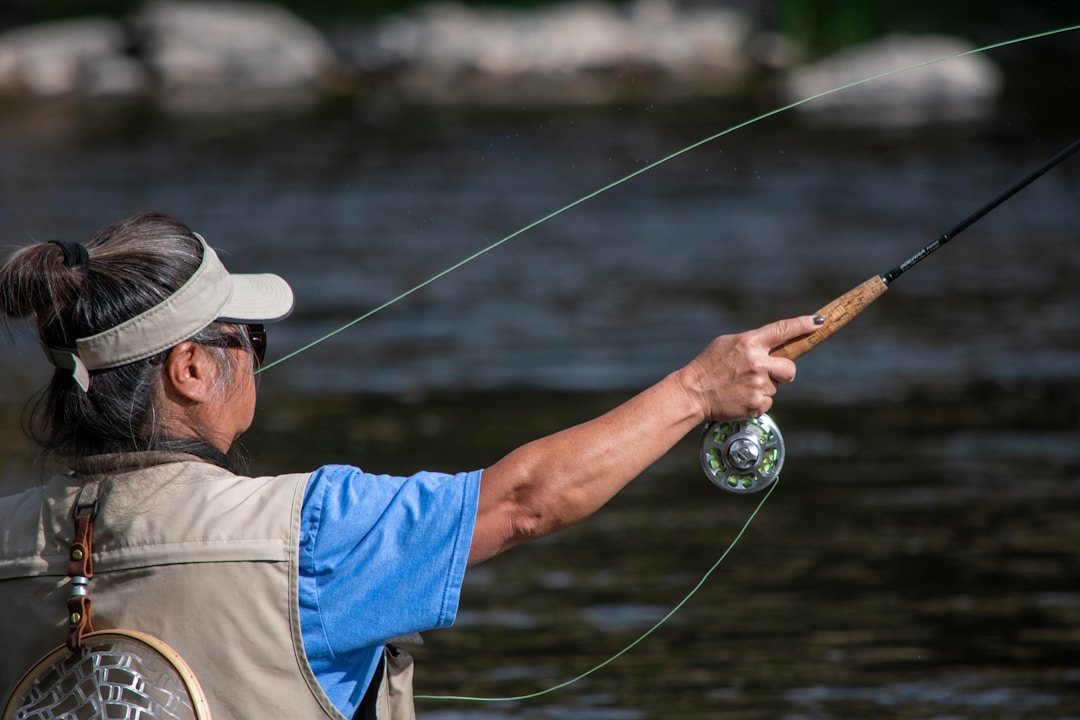
Backing rarely needs replacing. Fly line lasts for years with rinsing and basic care. Leader and tippet are the parts you replace most, either when they show wind knots and abrasion or once per season as routine maintenance. Check your leader for rough spots after every few trips, especially after fishing around rocks or structure.
Rig it, then go fish
Rigging a fly rod is a one-time job that takes less time than most anglers expect once you have done it once. Get the order right, check your knots, and the rest of the day is just fishing.
Browse the full fly rods collection or a starter kits package if you are still assembling your first setup. Heading to the salt soon? Our guide on rod weight for bonefish, redfish, and tarpon can help you pick the right rod before you rig it. Our team is glad to walk through your setup in person in Atlanta.
Recent articles
View all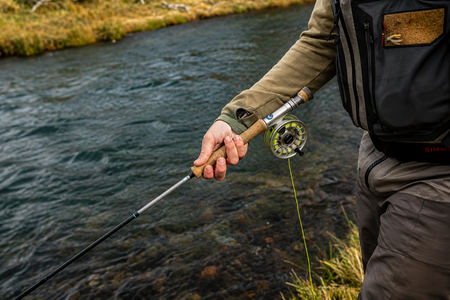
How to Set Up a Fly Reel: Backing, Line, and Leader
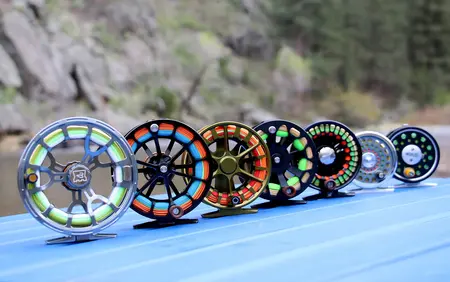
Fly Reel Size Chart: How to Match Your Reel to Your Rod